Items
Items make up the labor and materials that go into the cost of a home.
Each variable below allows the user to enter specific details about each item.
- Active Status of Item
- Item Category
- Item Description
- Item Number
- Model
- Taxable Status of Item
- Unit of Measure
Entering Item Information
Entering Item Information To enter information about an item:
- Click the Master Data tab in the Main Menu and then click the Items link on the Master Data screen.
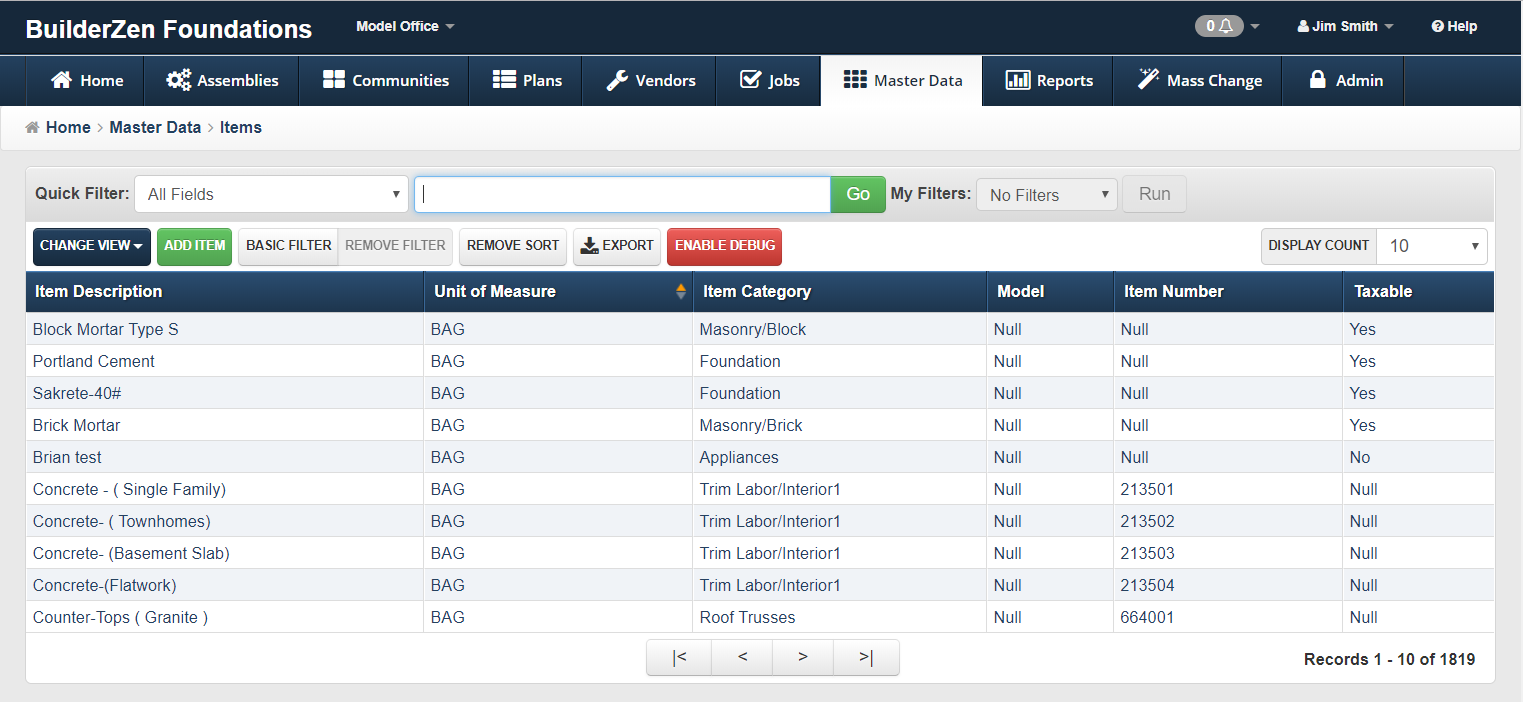
- Click the Add Item button in the browser toolbar. The screen below is shown.
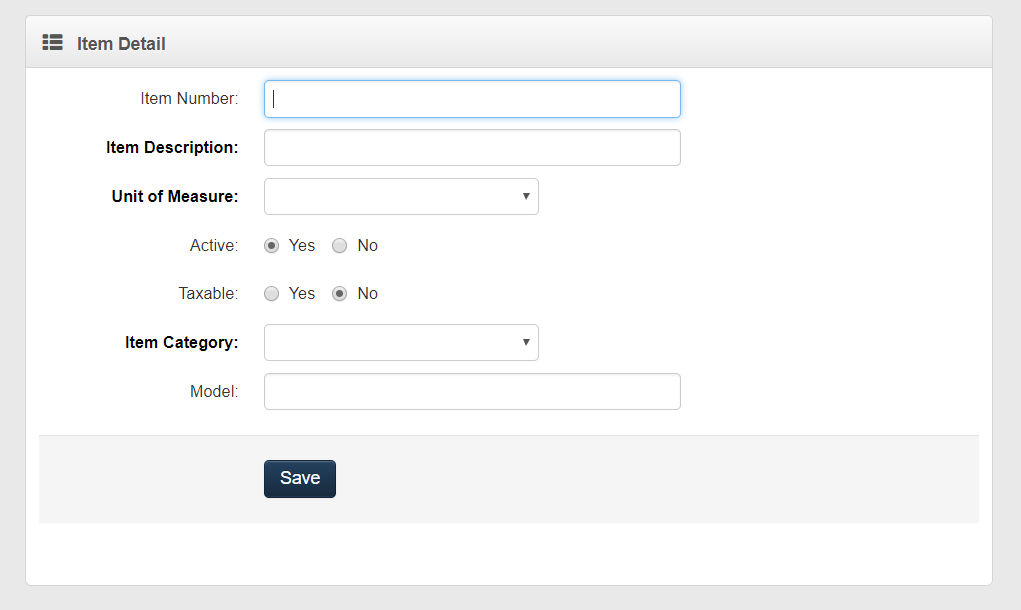
- Refer to the steps below to enter information in the Item Detail window.
Enter the Item Number. (Optional)
Enter the Item Description. (Required)
Note
For lump sum items, the best practice is to generically name the item and associate it with individual plan/community layers in the vendor contract pricing (lump sum reuse method).
- Choose the Unit of Measure from the drop-down menu. (Required)
Note
These choices must be determined by the company and entered in the support tables before adding items.
Click on the option button for Yes or No to designate whether the item is active or inactive. The default is Yes.
Click on the option button for Yes or No to designate whether the item is taxable or non-taxable. The default is No.
Choose the Item Category from the drop-down menu. (Required)
Note
These choices must be determined by the company and entered in the Master Data section before adding items.
Enter the Model. (Optional)
Click Save.
Item Rules
Rules for Unitized or Quantified Items
Enter each item separately.
If pricing is impacted by the model, enter each model as a separate item using the Model Number field.
If pricing is not impacted by the model, enter the model at the takeoff item level or as a purchase order feature.
Enter the level of detail required for the vendor to correctly identify the material (e.g., your company might include lumber species).
Groups can be created if multiple types of material are provided at the same time.
Examples of Unitized or Quantified Items
Individual Items – Cabinets can be entered as follows:
Euro/30” Wall Cabinet Single Door – 2430 – EA
Euro/30” Wall Cabinet Butt Doors – 2730D – EA
Euro/30” Wall Cabinet Double Doors – 3030 – EA
Groups – Many types of carpet are offered, and each can be grouped according to five levels:
Carpet Group 1 – SY
Carpet Group 2 – SY
Carpet Group 3 – SY
Carpet Group 4 – SY
Carpet Group 5 – SY
(e.g., Carpet Group 1 could be an item that includes material and labor.)
Labor – Enter labor the same way you enter materials:
Drywall Labor – SF
Paint Labor – SF
Foundation Labor – SF
Standard Lump Sum Material Pricing for standard lump sum items is set in the vendor contract using the unitized price and layer feature.
Rules for Lump Sum Items
One lump sum item is entered even if pricing changes by plan/elevation. Plan/elevation price changes are handled at the vendor contract level. See Example 5.1.
Enter the level of detail needed for contracts and POs. See Example 5.2.
If the vendor provided quotes based on areas of the home, include the area in the item description. See Example 5.3.
Example 5.1
Entering one lump sum item:
Cabinet Package – LSUM
Drywall Package – LSUM
Plumbing Package – LSUM
Example 5.2
Entering details:
Cabinet package – Maple – LSUM
Cabinet Package – Oak – LSUM
Cabinet Package – Pine – LSUM
Example 5.3
Quotes based on area in the home:
Cabinet Package – Master Bath – LSUM
Cabinet Package – Kitchen – LSUM
Cabinet Package – Bath 2 – LSUM
Hints: How Pricing Works with Lump Sum Items
Materials are entered as community or plan takeoff items.
If the item price changes by plan, it will be entered in the base plan layer.
If the item price changes by elevation, it will be entered in each plan elevation layer.
The estimator will enter 1 as the quantity of material needed for the takeoff item. This quantity is multiplied by the vendor’s unit price to get a total price on the floor plan budget and in job budgets.
Make sure that the contract price uses the layer where the takeoff item is built as the layer for pricing.