Community Layers
Layering allows the user to estimate components once and group them in logical layers. The same grouping can then be used over several phases of the same community or over several communities (when quantities do not vary).
Example
Community A uses a landscaping package that has two, 1.5-foot trees, 16, 1-gallon shrubs, and two, 5-gallon shrubs. Communities B and C use the same package. By creating a landscape layer that has the correct items attached to it, the user only has to estimate the items once for the first community. The rest of the communities can be built by selecting the layer, and the items will automatically populate the takeoff. Place layers containing takeoffs that are able to be used across more than one community under a generic “All” community.
Multi-family and single-family construction have the same layer structures. If a division builds and prices by phase, a layer for each price change is needed. There will be one layer that holds the plan configurations, standard features, and standard options because those do not change by phase. Then, there will be an individual layer that holds just the primary vendors for each phase. This is because new contracts are created to handle phase pricing, and the correct contract should be associated with each phase.
Adding Community Layers
To add community layers:
Click Layers from the nav links at the top of the Community Detail screen.
Click the Add Community Layer button in the browser toolbar.

- Enter the Community Detail information by following the steps below.
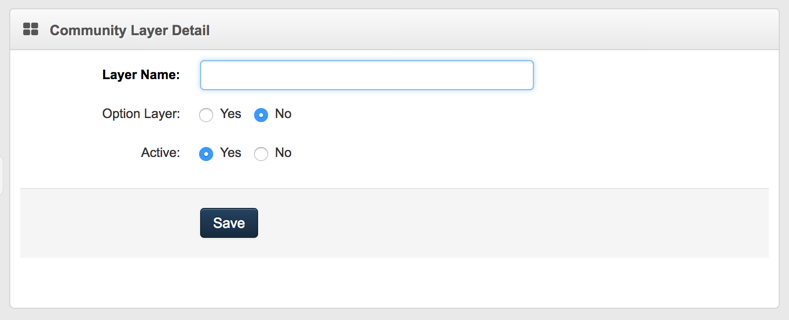
Enter the Layer Name. (Required)
Choose Yes or No to designate whether the layer is an option layer. (Required)
Select Yes or No for Active Layer (record). By choosing No, the layer will not be shown in the standard layer browser view and cannot be chosen from any pick lists.
Click Save.